Double Dutch Braid Updo Tutorial: Master This Elegant Style in Minutes
Ever stood in front of the mirror, desperately trying to create that gorgeous braided updo you saw on Instagram, only to end up with a tangled mess?
I’ve been there. More times than I’d like to admit.
But here’s the thing: the double dutch braid updo tutorial isn’t nearly as complicated as it looks. In fact, once you understand the basic technique, you’ll be creating this stunning style in about 15-20 minutes flat.
This tutorial will walk you through every single step—from the initial hair prep to the final bobby pin placement. Whether you’re getting ready for a wedding, a formal event, or just want to elevate your everyday look, this braided hairstyle is your answer.
Let’s get started.
What Makes the Double Dutch Braid Updo So Special?
Before we dive into the step-by-step process, you might be wondering what all the fuss is about.
The double dutch braid updo is basically two Dutch braids (also called reverse French braids) that are styled into an elegant updo. What I love about this style is how versatile it is. It works for:
- Weddings and formal events
- Casual brunches and daytime activities
- Athletic activities (it stays put!)
- Bad hair days when you need something polished fast
- Second or third-day hair (actually works better!)
Plus, it looks way more complicated than it actually is. People will think you spent hours at a salon when really, you did it yourself in under 20 minutes.
Before you start braiding, avoid these common haircare mistakes that can make hair frizzy, weak, or harder to style.
Understanding Dutch Braiding vs. French Braiding
Now here’s where it gets interesting. If you already know how to create a French braid, you’re basically 90% of the way there.
The only difference? With a Dutch braid, you cross the hair strands under each other instead of over. This creates that beautiful raised, dimensional effect where the braid literally pops off your head.
Think of it this way:
- French braid: Strands cross over = braid blends into your hair
- Dutch braid: Strands cross under = braid sits on top of your hair
That simple switch is what gives the double dutch braid updo its eye-catching, textured look.
Tools and Products You’ll Need
Don’t worry—you don’t need a ton of fancy equipment for this tutorial. Here’s what I recommend having on hand:
Essential Tools:
- Hairbrush or wide-tooth comb
- Tail comb (for creating clean parts)
- Hair elastics (clear or matching your hair color)
- Bobby pins (lots of them—I use about 10-15)
- Hair spray for hold
Optional But Helpful:
- Texturizing spray or dry shampoo (adds grip)
- Hair mousse (for volume)
- Small mirror (to check the back)
If your hair is super silky or freshly washed, I highly recommend using a texturizing product. It gives your hair that grippy texture that makes braiding so much easier.
How Long Does Your Hair Need to Be?
You might be wondering if your hair is long enough for this style.
Good news: the double dutch braid updo works on most hair lengths! Here’s what I’ve found:
- Long hair: Perfect. You’ll have plenty to work with.
- Medium-length hair (shoulder-length or longer): Totally doable. The updo will just be slightly smaller.
- Short hair (chin-length or shorter): This might be challenging, but you can still do the Dutch braids and pin them creatively.
If you have layered hair, don’t stress. This style actually works beautifully with layers—you’ll just have a few more pieces that need pinning.
Step-by-Step Double Dutch Braid Updo Tutorial
Alright, let’s get into the actual process. I’m breaking this down into super clear, easy-to-follow steps.
Step 1: Prepare and Section Your Hair
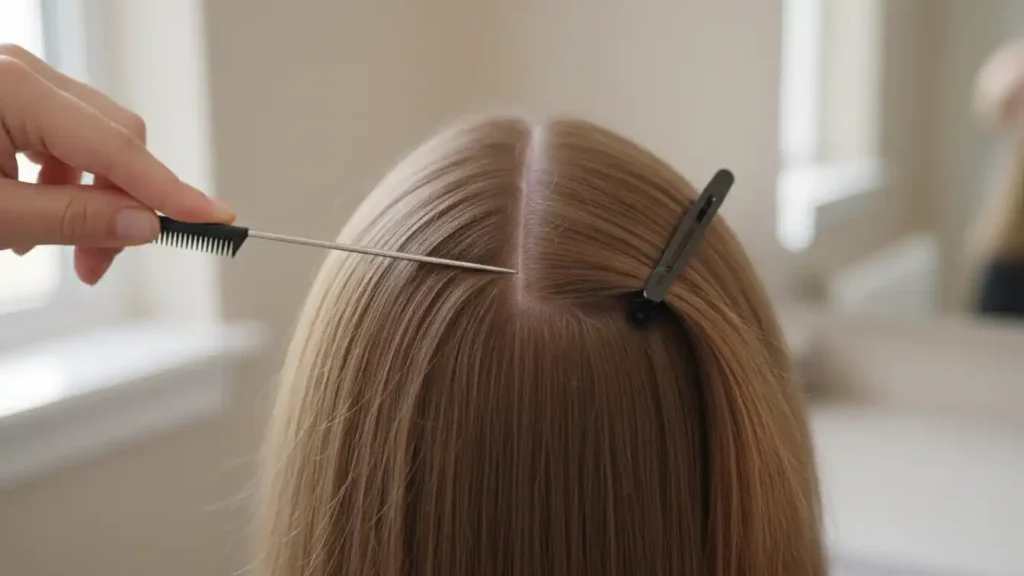
Start with brushed, tangle-free hair. Seriously, take an extra minute here. Trying to braid tangled hair is nobody’s idea of fun.
What to do:
- Brush through all your hair thoroughly
- Optional: Apply a small amount of texturizing spray or mousse throughout
- Use your tail comb to create a clean center part from your forehead all the way down to the nape of your neck
- Clip or tie one section out of the way while you work on the first braid
Pro tip: If you want more volume at the crown, tease that area slightly before you start braiding.
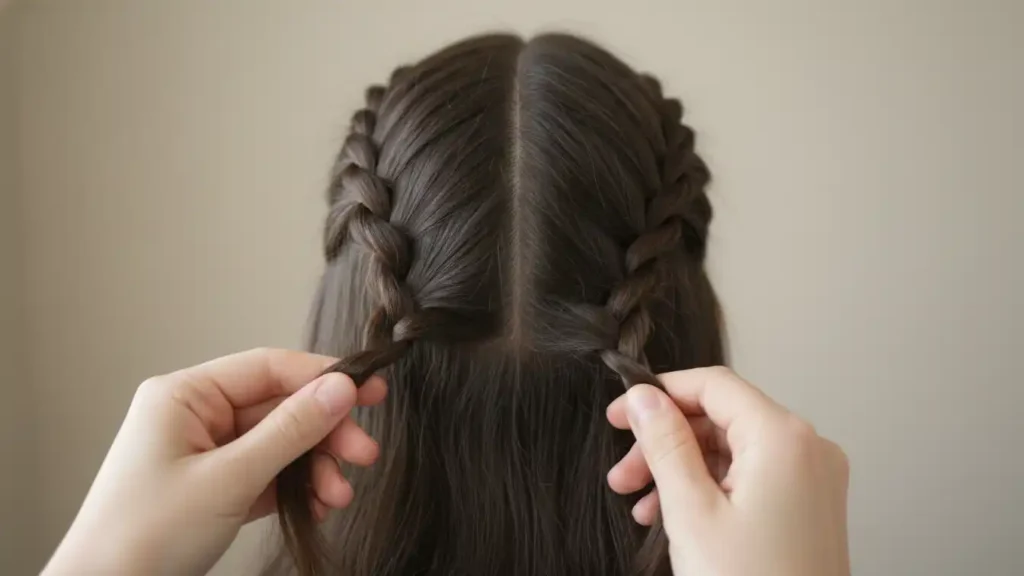
Step 2: Start Your First Dutch Braid
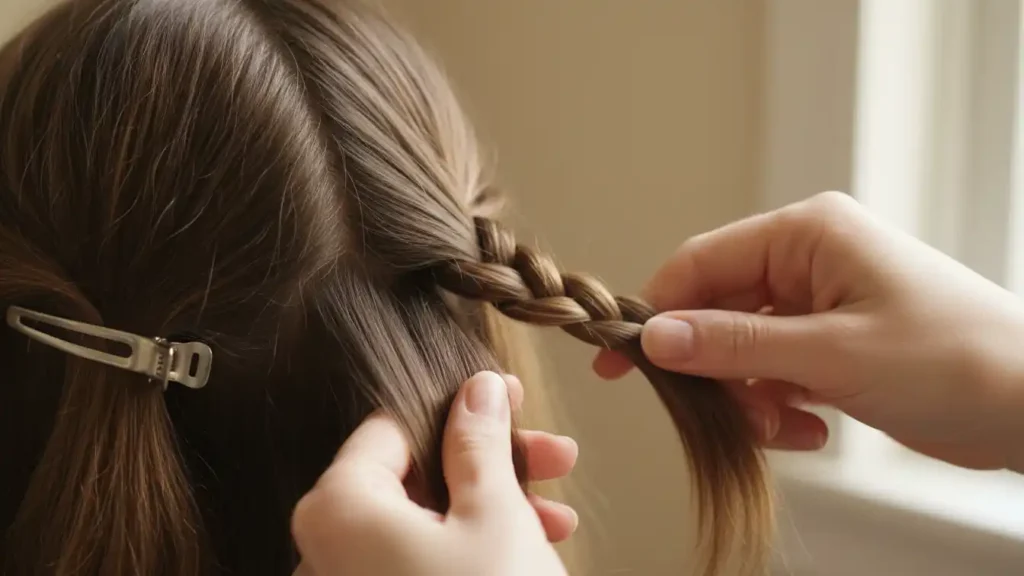
This is where the magic begins.
Here’s how:
- On one side of your part, grab a small section (about 2 inches wide) at the top of your head
- Divide this section into three equal strands
- Take the right strand and cross it under the middle strand
- Take the left strand and cross it under the new middle strand
Congratulations—you just completed one cycle of a Dutch braid!
The key thing to remember: You’re always crossing under, not over. If you accidentally cross over, you’ll end up with a French braid instead.
Step 3: Continue the Dutch Braid Down
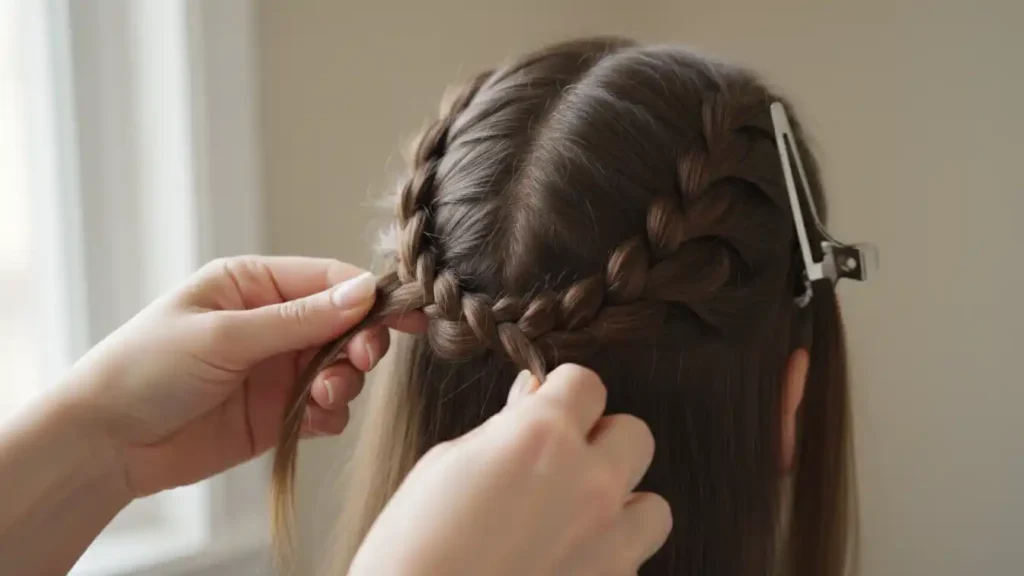
Now we’re going to keep building that braid by adding more hair as we go.
The technique:
- Before crossing the right strand under again, grab a small section of hair from the right side of your head
- Add it to your right strand, then cross this combined strand under the middle
- Do the same on the left: grab hair from the left side, add it to your left strand, cross under the middle
- Continue this pattern, alternating sides
Important: Keep consistent tension as you braid. Not too tight (ouch!), but not too loose either. You want it snug and secure.
Common mistake to avoid: Don’t add too much hair at once. Small sections create a neater, more defined braid.
Step 4: Finish the First Braid
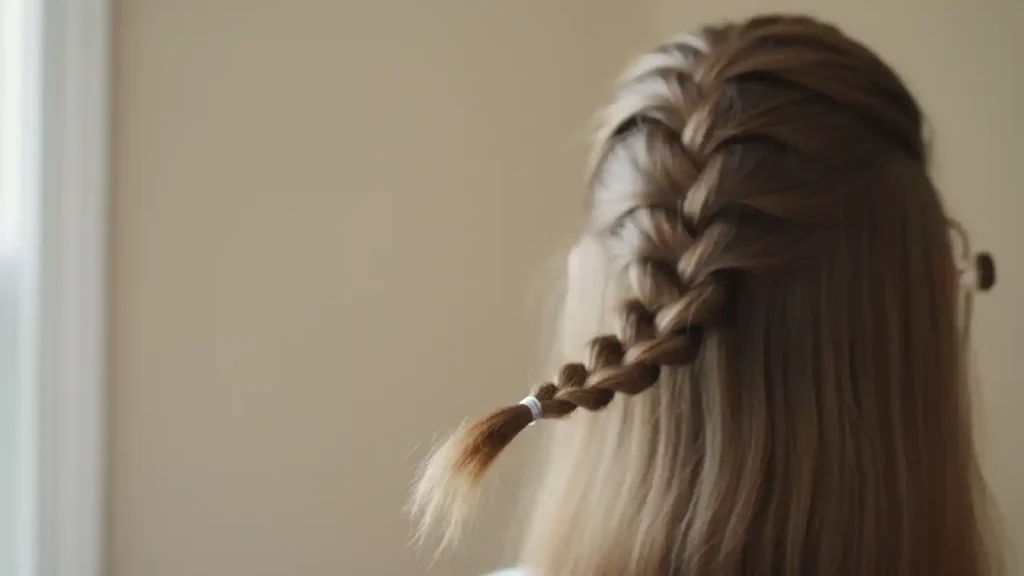
Keep braiding down until you reach the nape of your neck and have no more hair to add.
Then:
- Continue braiding the remaining length in a regular three-strand pattern (no new hair added)
- Secure the end with a hair elastic
- Don’t worry about making it perfect—we’ll adjust everything later
Take a second to admire your work. You just created your first Dutch braid!
Step 5: Create the Second Dutch Braid
Time to repeat the process on the other side.
Start by:
- Releasing the clipped section of hair
- Grabbing a small section at the top (try to make it the same size as the first braid)
- Dividing into three strands
- Braiding using the exact same under-under-under technique
Symmetry tip: Try to position this braid at the same angle as the first one. I like to check in the mirror periodically to make sure they’re relatively even.
Continue adding hair and braiding all the way down, then finish with a regular three-strand braid and secure with an elastic.
Now you should have two complete Double dutch braid updo tutorial hanging down your back.
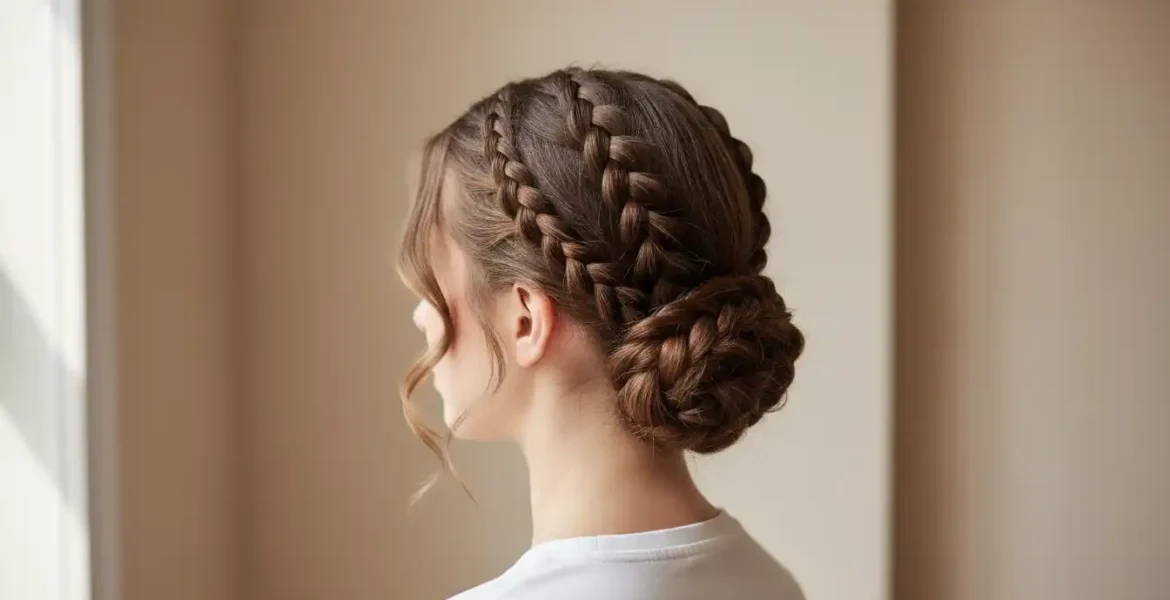
Step 6: Create the Updo
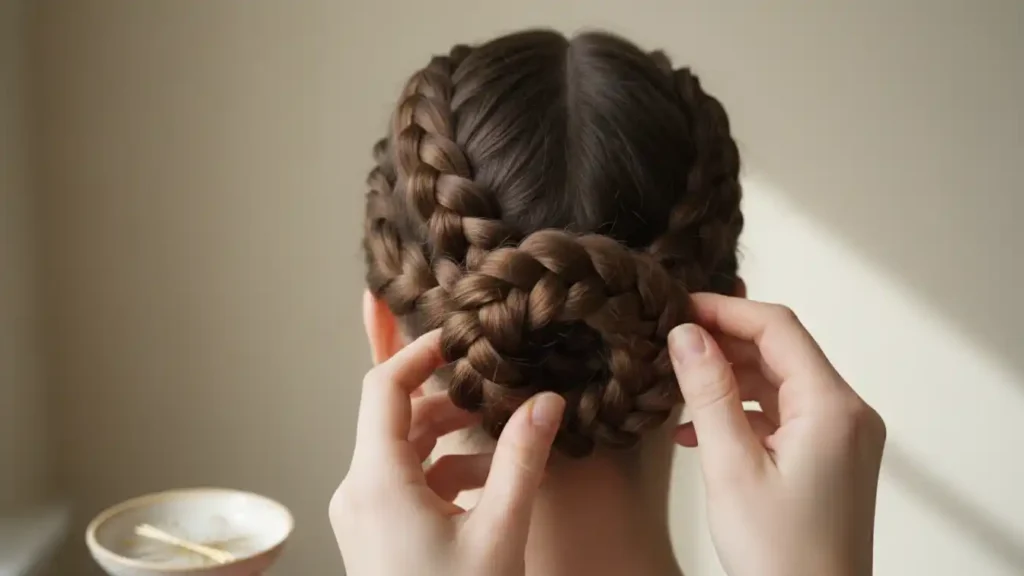
This is the fun part where everything comes together.
Here’s what to do:
- Hold both braids at the base where they meet at the nape of your neck
- Gently wrap them around each other, creating a twisted, circular shape
- Coil them into a bun-like formation against the back of your head
- Tuck the ends underneath to hide them
Styling choice: You can make your updo neat and tight, or pull it apart slightly for a softer, more romantic look. Both work beautifully!
Step 7: Secure Everything with Bobby Pins
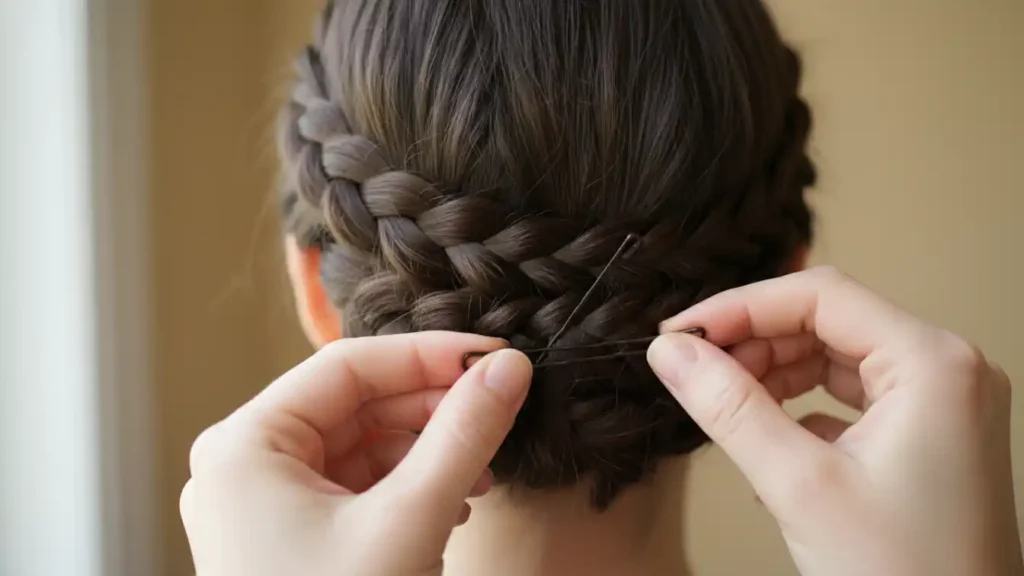
Now we’re going to make sure this style stays put all day (or night).
Pinning strategy:
- Start by securing the base of the updo where the braids meet
- Work your way around, adding bobby pins wherever you feel movement or looseness
- Make sure to hide the pins within the braids so they’re not visible
- Insert pins in an X-pattern for maximum hold (cross two pins over each other)
I usually use 10-15 bobby pins total, but don’t be afraid to use more if needed. Better over-pinned than having your updo fall apart!
Step 8: Finishing Touches
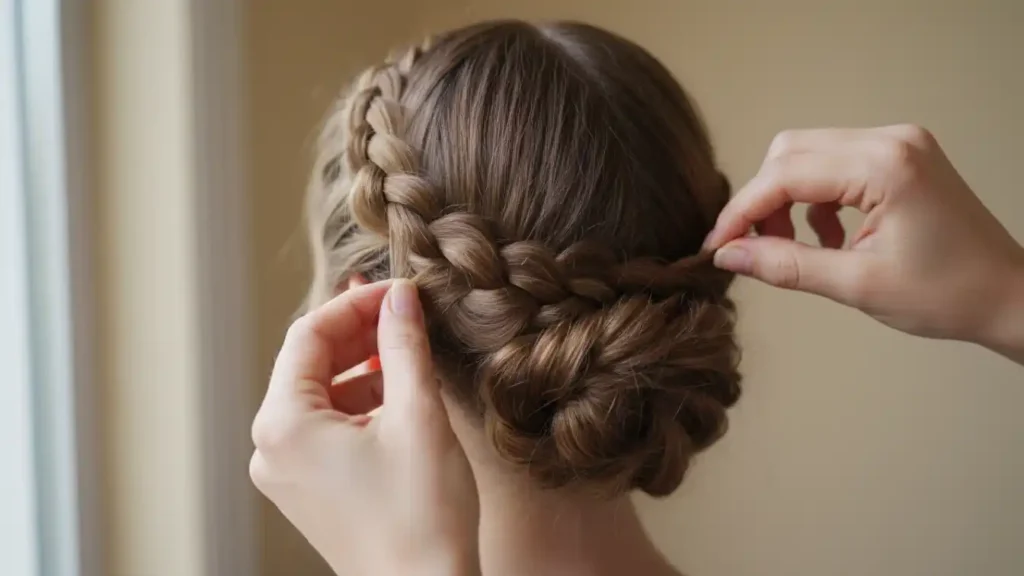
Almost done! Let’s make this look absolutely perfect.
Final steps:
- Gently pull on the edges of the braids to make them wider and fuller (called “pancaking”)
- Smooth down any flyaways with a bit of hairspray on your fingers
- Check your updo from all angles using a mirror
- Add extra bobby pins wherever needed
- Finish with a light mist of hair spray for all-day hold
Step back and admire your gorgeous double dutch braid updo!
Common Mistakes (And How to Avoid Them)
In my experience teaching people this style, I’ve noticed a few recurring issues. Here’s how to prevent them:
Mistake #1: Braiding Too Loosely
Loose braids look messy and won’t hold your updo properly. Keep consistent tension throughout.
Mistake #2: Uneven Braids
If one braid is way thicker than the other, the updo won’t look balanced. Try to grab similar-sized sections when you start each braid.
Mistake #3: Not Using Enough Bobby Pins
Seriously, don’t be stingy with the pins. A few extra bobby pins make the difference between a style that lasts all day and one that falls apart by lunchtime.
Mistake #4: Forgetting the Texturizing Product
If you have slippery hair, skip the texturizing spray at your own risk. It really does make braiding easier and helps everything hold better.
Mistake #5: Giving Up Too Soon
This style takes practice! Your first attempt might not be perfect, and that’s totally normal. Each time you do it, you’ll get faster and better.
Customizing Your Double Dutch Braid Updo
One of the best things about this tutorial is how customizable the final look is. Here are some variations to try:
For a Romantic, Bohemian Look
- Pull on the braids more aggressively to make them really thick and textured
- Leave a few face-framing pieces out
- Make the updo messier and less structured
- Add small flowers or delicate hair accessories
For a Sleek, Formal Style
- Keep the braids tight and neat
- Use gel or pomade to smooth down every single flyaway
- Create a low, polished bun at the nape
- Minimal pulling on the braids—keep them defined
For Athletic Activities
- Braid tightly for maximum security
- Use sport-specific hair elastics
- Skip the pancaking (keep it tight)
- Extra hairspray for hold during movement
Troubleshooting Guide
Problem: My braids keep coming loose
Solution: You’re probably not maintaining enough tension. Try braiding more tightly, and use a texturizing product to add grip.
Problem: I can’t reach the back of my head properly
Solution: Practice makes perfect here. Try braiding in front of a large mirror with a smaller hand mirror to see the back. Or recruit a friend for your first few attempts!
Problem: My updo looks lumpy and uneven
Solution: This usually means your braids weren’t even to begin with. Make sure both braids are similar in thickness and length.
Problem: The style falls out within an hour
Solution: Use more bobby pins! Also, make sure you’re crossing your pins in an X-pattern for better hold.
How Long Does This Style Take?
Let me be honest with you about the time commitment.
First time trying: 30-45 minutes (totally normal!)
After 3-4 practices: 20-25 minutes
When you’re a pro: 10-15 minutes
Don’t get discouraged if it takes longer at first. The Dutch braid technique requires some muscle memory, and your hands need to learn the movements.
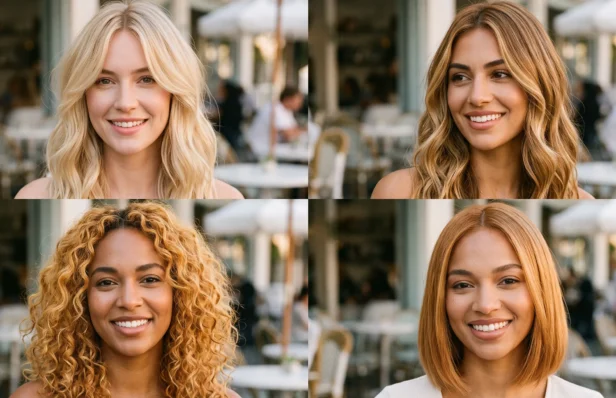
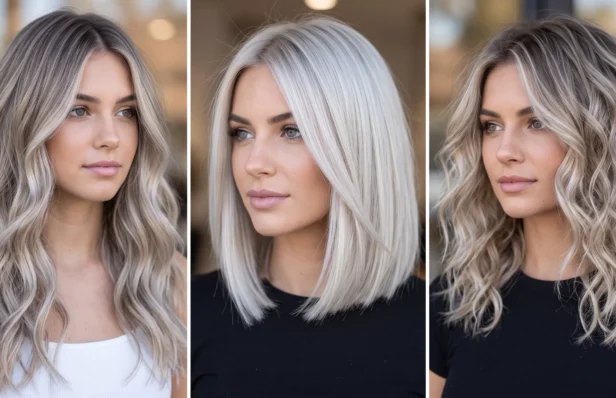
Will This Work on Different Hair Types?
Absolutely! I’ve seen this double dutch braid updo look stunning on all different hair types and textures.
Straight Hair: Works perfectly. You might need texturizing spray for grip.
Wavy Hair: Ideal! The natural texture helps everything hold better.
Curly Hair: Beautiful! The braids have great texture, though you might need to detangle carefully first.
Thick Hair: Perfect for this style—you’ll get really full, impressive braids.
Fine Hair: Totally doable. Pancake the braids more to create the illusion of thickness.
Textured/Coily Hair: Gorgeous! You might want to work with slightly stretched or blown-out hair for easier braiding.
Style Variations and Updo Options
| Variation | Best For | Difficulty Level | Time Required |
| Classic Low Bun | Formal events, weddings | Easy | 15-20 minutes |
| Messy Bohemian Updo | Casual outings, festivals | Easy | 15-20 minutes |
| Crown Braid Updo | Romantic dates, proms | Medium | 25-30 minutes |
| Side-Swept Updo | Unique formal looks | Medium | 20-25 minutes |
| High Bun Style | Athletic activities | Easy | 15-20 minutes |
Products I Swear By for This Style
You don’t need expensive products, but here are some that genuinely make a difference:
For Texture: Any dry shampoo or texturizing spray. I like the Oribe Dry Texturizing Spray, but drugstore versions work great too.
For Hold: A good hairspray that doesn’t make hair crunchy. Look for flexible hold formulas.
For Smooth Edges: A small amount of pomade or edge control on flyaways works wonders.
For Volume: Mousse applied to damp hair before air-drying or blow-drying gives amazing fullness.
Frequently Asked Questions
Q: Can I do this on freshly washed hair?
You can, but second or third-day hair actually works better! Freshly washed hair is often too slippery. If you must work with clean hair, definitely use a texturizing product.
Q: How do I sleep with this updo?
This is meant as a day style, not an overnight look. However, if you need it to last into the next day, carefully cover it with a silk scarf and sleep on your side.
Q: Will this damage my hair?
Not if done correctly! Don’t braid too tightly, and be gentle when removing bobby pins. The style itself is actually protective since your hair isn’t exposed to heat or excessive manipulation.
Q: What if I have bangs?
No problem! You can either incorporate them into the braids or leave them out to frame your face. Both options look great.
Q: Can I add hair accessories?
Absolutely! Small flowers, decorative pins, jeweled clips, or ribbons all look beautiful woven into this style.
Beyond the Basics: Advanced Tips
Once you’ve mastered the standard double dutch braid updo, try these expert techniques:
Tip #1: Direction Matters
Angle your braids slightly toward the back of your head rather than straight down. This creates a more elegant line and makes the updo easier to construct.
Tip #2: Vary Your Sections
Instead of adding the same amount of hair each time, try varying it slightly. This creates more organic-looking braids that appear less uniform and more natural.
Tip #3: The Pancaking Technique
After your braids are complete, gently pull on the outer edges of each braid segment. This creates width and a fuller appearance. Start from the bottom and work your way up for the most natural look.
Tip #4: Strategic Bobby Pin Placement
Place your bobby pins with the wavy side down, not up. The wavy side grips better, which means your updo holds more securely.
When to Wear This Style
The versatility of the double dutch braid updo is seriously impressive. Here are some perfect occasions:
Formal Events: Weddings (as a guest or bridesmaid), galas, formal dinners, prom, graduation
Casual Wear: Brunch with friends, shopping trips, casual dates, everyday work
Athletic Activities: Yoga, running, gym workouts, hiking, dance classes
Special Situations: Bad hair days, traveling (it stays put for hours!), humid weather, second or third-day hair
The Psychology of a Good Hair Day
Here’s something I’ve noticed: when you master a skill like creating a beautiful braided updo, it genuinely boosts your confidence.
There’s something powerful about looking in the mirror and thinking, “I did that myself.”
Plus, the double dutch braid updo makes you look put-together even when you don’t feel it. It’s like armor for bad days—a polished exterior that helps you tackle whatever comes your way.
Practice Schedule for Beginners
Want to master this style? Here’s my recommended practice plan:
Week 1: Practice the basic Dutch braid technique on one side. Don’t worry about the updo yet—just get comfortable with crossing strands under instead of over.
Week 2: Practice creating matching braids on both sides. Focus on making them even and symmetrical.
Week 3: Work on speed. Set a timer and try to complete both braids in under 15 minutes.
Week 4: Now add the updo element. Practice different bun styles and find what works best for your hair length.
By the end of the month, you should be able to create this entire style in 20 minutes or less!
Final Thoughts on Mastering This Look
Listen, I’m not going to pretend this style is effortless from day one. It takes practice.
Your first double dutch braid updo might be lopsided. The braids might be uneven. The updo might look a little wonky.
That’s totally okay.
Every single person who’s now creating gorgeous braided updos in their sleep started exactly where you are now. The difference between them and someone who gave up? They kept trying.
What I love most about this tutorial is that it’s actually teaching you a foundational skill. Once you understand how to create a Dutch braid, you can use that technique in dozens of other hairstyles—French braids, fishtail braids, crown braids, and so many more.
You’re not just learning one style. You’re unlocking an entire category of beautiful braided hairstyles.
Ready to Try It Yourself?
Here’s my challenge to you: set aside 30 minutes this weekend and give it a try.
Don’t aim for perfection. Don’t compare your first attempt to the flawless updos you see on Instagram (those stylists have years of practice and professional hair products).
Just grab your hairbrush, some bobby pins, and a hair elastic, and see what you can create.
Take a picture of your first attempt—I promise you’ll want to look back on it in a few months when you’re effortlessly whipping up double dutch braid updos like a pro.
And remember: every hairstylist, every beauty influencer, every person who’s ever impressed you with their braiding skills started as a complete beginner. The only difference is they didn’t give up after the first try.
You’ve got this.
Now go create something beautiful!